


Did you know that you can grow ginger in water? Forget about expensive organic rhizomes from the store and grow your own – without soil, without mess and with minimal effort! Not only will you always have fresh ginger on hand, but your home will also get a wonderful green touch. Here are simple steps that anyone can master – even if you’ve never grown anything before!
Why would you even bother? home growing ginger? The first reason is savings, as you will never have to buy ginger again. In addition, you will have complete control over the quality – store-bought ginger is often treated with chemicals that inhibit germination, while homemade ginger will be completely natural. And last but not least – the feeling of having grown something yourself is really something special!
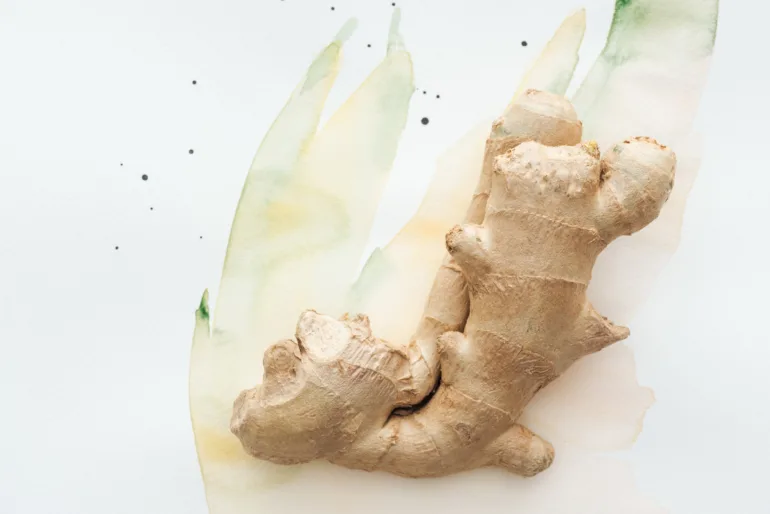
1. Choose the best ginger
For best results, choose organic ginger. The key is the little nodules or “eyes” – these are the points from which new shoots will sprout. If they are visible and slightly greenish, so much the better! Avoid dry or wrinkled rhizomes, as they have less chance of growing successfully.
2. Soak ginger for the perfect start
Soak the ginger overnight before placing it in water. This will rehydrate it, which will speed up germination and remove any chemicals that may inhibit growth. You can leave the ginger in the water for several days until you see the first signs of growth.

3. Prepare the dish
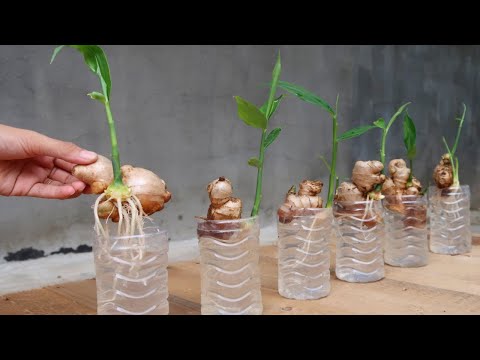
Use a shallow glass container, jar, or bowl. Place the ginger so that it is half submerged in the water – it should not be completely below the surface! The eyes should be facing upwards, as new shoots will grow from them.
4. Provide adequate lighting
Ginger needs light, but not direct sunlight. Place it in a spot with indirect light where it will get enough energy to grow but won't be damaged by too much sunlight.
5. Change the water regularly
For your ginger to grow well, the water must remain fresh. Change it every 3-4 days to prevent rotting and provide optimal conditions for root development. The ginger must always be at least partially submerged in water so that it can feed and develop.

6. Watch the magical growth
After about 1-2 weeks, you will notice the first shoots and roots. This is a sign that the process has started and that you are on the right track! Growth will be slow at first, but over time, the ginger will sprout strong green shoots that will give your home a beautiful natural look.
7. Transplant – yes or no?
Once your ginger has grown, you have two options. You can let it grow in water and enjoy its fresh leaves, which you can use as a spice. Or, if you want a bigger harvest, transplant it into rich, slightly moist soil and allow it to grow.
Why is this the best method of growing ginger?
Because it’s completely simple and doesn’t require any gardening knowledge. Growing ginger in water means you avoid dirty soil, weeds, and the need for gardening tools. Plus, you have complete control over the growth and quality of your ginger, as it doesn’t contain any pesticides or other harmful substances. Fresh ginger will always be at your fingertips, ready to use in your favorite recipes. And last but not least – this method is completely free! You buy organic ginger once, and then you can grow it again and again. If that’s not the best DIY trick, then we don’t know what is!
If you want to grow natural, organic food at home ginger in the easiest way, don't delay - try this method today! 🌱✨

