


Grouts. Those inconspicuous lines between tiles that we usually ignore until one morning – when we’re trying to drink our coffee in peace – they stare us straight into the soul. They slowly darken, turning into tones you wouldn’t even choose for a winter coat, and start to emit smells that vaguely remind us of a neglected basement bathroom from the 90s. How do you clean grout?
How to clean joints? Don't worry – you don't need an exorcist or a bathroom renovation. There are simple but extremely effective methods, which will make your joints look like new again. Whether you swear by an ecological approach, technologically advanced devices or classic power detergent, you'll find six proven solutions that will turn grout from hell into little miracles of cleanliness.
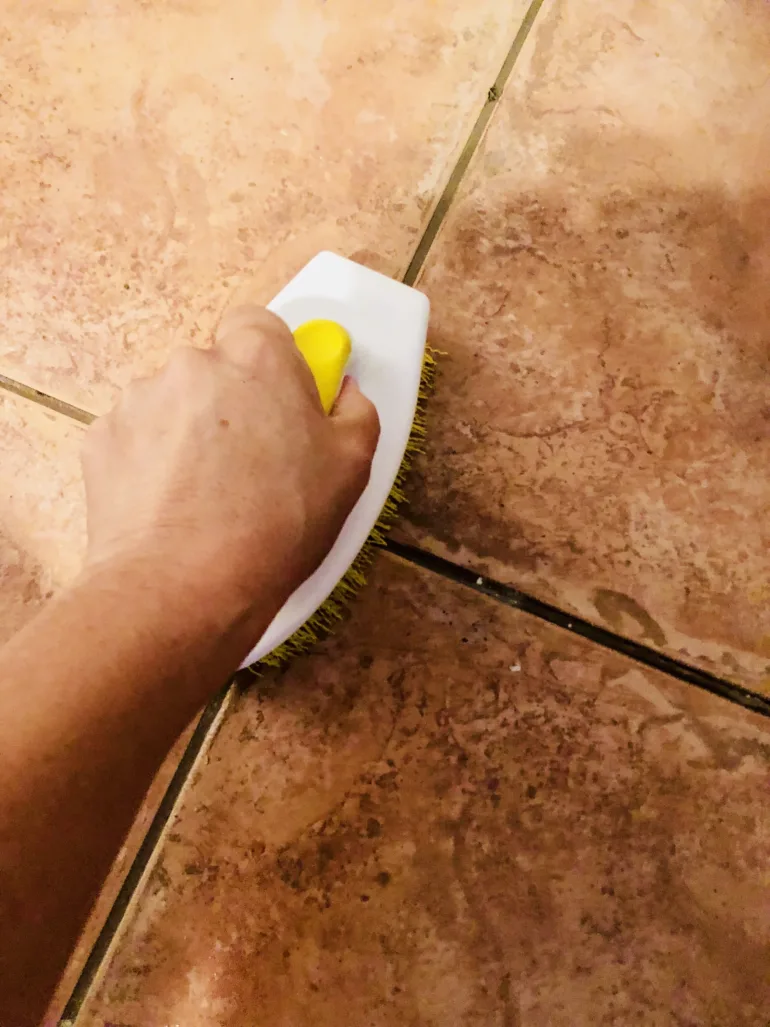
6 ways to clean grout
1. Baking Soda and Vinegar: The Classic Chemical Duo That Never Disappoints
The most well-known home method for cleaning grout includes baking soda and vinegar – a combination that instantly launches a sparkling cleaning show. It works on the principle of mechanical and chemical reaction, lifting dirt, grease and bacteria from the joints.
Ingridients:
- 3 tablespoons baking soda
- a few tablespoons of water (for the paste)
- vinegar spray
Process:
Mix baking soda and water to make a thick paste. Apply it directly to the grout, then spray it with vinegar. Wait 5 to 10 minutes for the reaction to complete, then scrub with a toothbrush. Finally, rinse everything with warm water.
It works reliably and is completely ecological alternative to aggressive cleaners, especially suitable for moderately dirty joints.

2. Baking soda and hydrogen peroxide: When grout forgets it was once white
If you are dealing with really stubborn dirt and color changes that don't fit into your interior design palette, use a combination baking soda and hydrogen peroxideThis is a recipe for those who want grout as white as the porcelain from grandma's display cabinet.
Ingridients:
- bicarbonate of soda
- hydrogen peroxide (1:1 ratio)
Process:
Apply the mixture to the problem areas, leave it on for 10 minutes, and then rub it in. The hydrogen peroxide has a strong bleaching effect, while the baking soda provides mechanical exfoliation.
This method is ideal for bathrooms where the color decadence of the grout has already begun.
3. Lemon and Borax – a refreshing duo for natural cleaning
If you are more of a Mediterranean type and want your bathroom to smell like freshly squeezed lemonade on a sailboat after cleaning, reach for lemon and boraxLemon acts as a natural bleach, while borax removes stubborn dirt.
Ingridients:
- juice of one lemon
- 2 tablespoons borax
Process:
Mix into a paste, apply to grout, leave for 15 minutes, then scrub.
The result is not only clean, but also pleasantly scented space, without synthetic fragrances.

4. Steam cleaner – cleanliness at the touch of a button
For lovers of technology and practicality, the most elegant solution steam cleaner with crevice toolHot steam penetrates deep into pores, breaks down fats, kills bacteria and mold – without a drop of chemicals.
This is a method for those who would rather clean than watch mold miraculously grow. Remember to test on a less visible area before use, as heat is not always kind to all materials.
5. Oxygen bleach for extreme cases
If your grout looks like evidence in a criminal investigation, it's time to oxygen bleach (e.g. OxiClean). This cleaner effectively breaks down dirt without discoloring grout – unlike chlorine alternatives.
Ingridients:
- oxygen bleach
- hot water (according to instructions on the packaging)
Process:
Apply the solution to the grout, leave for at least 15 minutes, then scrub thoroughly and rinse. A great solution for colored grout and heavily stained surfaces.

6. Commercial Cleaners: Because Sometimes a Store Saves the Day
There are cleaners on the market formulated specifically for specific grout problems: mold, limescale, grease... If you choose the right product and - which is a rarity! - actually read the instructions, you can easily achieve professional results. Test on a less visible area before use.
The biggest secret? Regular cleaning
Let's be honest: the best strategy is consistent maintenance. Wipe the joints once a week, wipe the walls after showering to prevent moisture build-up. However, if aesthetic slippage still occurs – “grout pen” will quickly conceal color deviations without much effort.
Conclusion: Top-notch grout, top-notch bathroom
Grouts are like the eyebrows of your bathroom – if you neglect them, everything will quickly look much more untidy. Now that you have a whole arsenal of tricks, you can confidently pick up your cleaning tools and reignite your bathroom kingdom. No panic, no chemical warfare – just sparkling cleanness and a sense of control over your habitat.

