


Have you ever thought about growing a watermelon in a pot on your balcony? While it may sound like botanical fantasy or a project for time-poor gardeners, the truth is much simpler and – surprisingly sweet. With a little ingenuity, the right variety and some sunshine, you too can be picking your own watermelons instead of scooping goulash from a cast-iron pot in the summer.
To educate watermelon In a pot, it is no longer exotic, but a real urban gardening fad. With the right process and a bit of perseverance, you can create a mini farm on your terrace and enjoy fruits that will be as personal as homemade jam. In this guide, we show you 6 simple steps on how to grow something from seed that will turn your balcony into a real tropical corner.

How to grow watermelon in a pot
During the summer months, there's nothing better than biting into a cold slice of watermelon that you grew yourself. By choosing the right variety, quality soil, and enough sun, with a little patience you will be rewarded with a delicious watermelon. Limited space is just a challenge, not an obstacle.
Below you will find out, how to grow a watermelon in a pot step by step – from seed selection to the moment the fruit ripens.

1. Choose a suitable variety
Compact varieties are best suited for planting on the terrace, dwarf varietiesThese don't grow into giant creeping bushes and take up half of your balcony. Smaller species such as 'Sugar Baby' or 'Golden Midget', develop fruits weighing several kilograms, which is ideal for growing in a pot. In addition, they have a shorter ripening period.
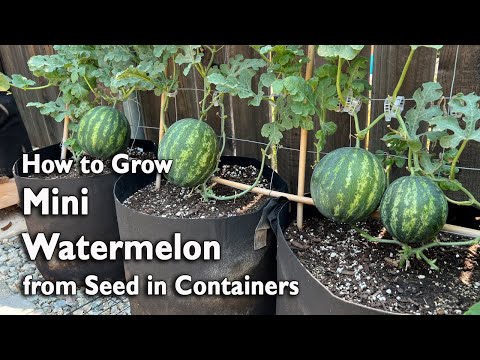
2. Prepare a spacious pot
Although the small plant may not seem to need much space, watermelon root systems are surprisingly extensive. It is recommended to use a pot that has at least 40 liters of capacity. Cover the bottom with a drainage layer of pebbles to drain excess water, then add rich soil with a mix of compost. This will give the roots enough nutrients to develop.

3. Planting process
If you decide to plant seeds, plant them approximately three centimeters deep. Seedlings are a slightly faster way, as they will germinate in a warm place. As soon as the plants are strong enough, place the pot in a sunny place. Watermelon needs at least six hours of direct light per day to develop healthy leaves and later quality fruit.

4. Regular watering and care
Although watermelon is known for its love of water, moisture retention in the ground is not recommended. Water when the top layer of soil is dry, but make sure the soil remains slightly moist. When the shoots start to grow, you can train them on a support or let them gently they crawl on the terrace floor. Additional fertilization with a fertilizer rich in phosphorus and potassium will allow the plant to bloom more abundantly and develop fruits.

5. Hand pollination
Since the terrace is usually not a natural environment for pollinators, you can you help with pollinationWhen the male flowers open, use a soft brush to transfer pollen to the female flowers. This will increase the likelihood that the flower will develop into a small green watermelon.
6. Waiting for maturity and harvesting
With patient care, the first fruits will begin to thicken. after about two months. When you notice that the stem part of the plant is completely dry and the underside of the watermelon is yellowish, it is time to harvest. If you tap it, it will make a hollow sound. This is a sure sign that the watermelon is ready to cut and eat. And you have your watermelon!
Growing watermelon in a pot on your patio is a special project that requires careful planning and a bit of patience.

