Skin tags – those little soft vagrants that appear where no one invites them: on the neck, under the armpits, between the breasts or even on the back. They are not dangerous, they are not contagious, they are not even evil. But hey, we still don’t want them! Although they do not pose any serious health threat, many people want to remove them – for aesthetic reasons or simply because they get stuck in their necklace, bra or the look in the mirror. And while a dermatologist is always the safe bet, there are also some very simple home tricks that can send these stubbornly peaceful formations on vacation. How to remove skin tags at home?
How to remove skin growths at home? Causes of their occurrence skin growths are quite diverse: genetics, hormonal imbalance, type 2 diabetes, excess cholesterol or simply – a few extra pounds. Although they can be removed with laser, freezing or electric current, many people want more natural solutions that are non-invasive, cost-effective and – let’s be honest – a little bit magical too. Below we reveal three proven home methods, which are simple, safe and, if given time, surprisingly effective.
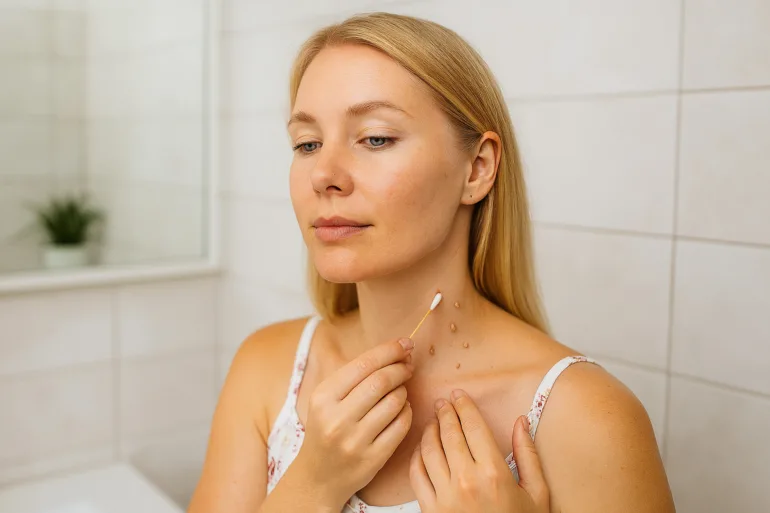
3 ways to remove skin growths at home?
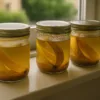
Natural Wonder No. 1: Tea tree and vitamin E – a duo against the scourge
If the teapot were a superhero, he would have a drawing on his cape antimicrobial triad: antifungal, antibacterial, and antiviral power. So it's no wonder it's earned its place on the list of natural solutions for removing skin growths.
Ingridients:
- a few drops tea tree oil (Tea Tree Oil)
- a few drops vitamin E in oil
- cotton swab and patch
Process:
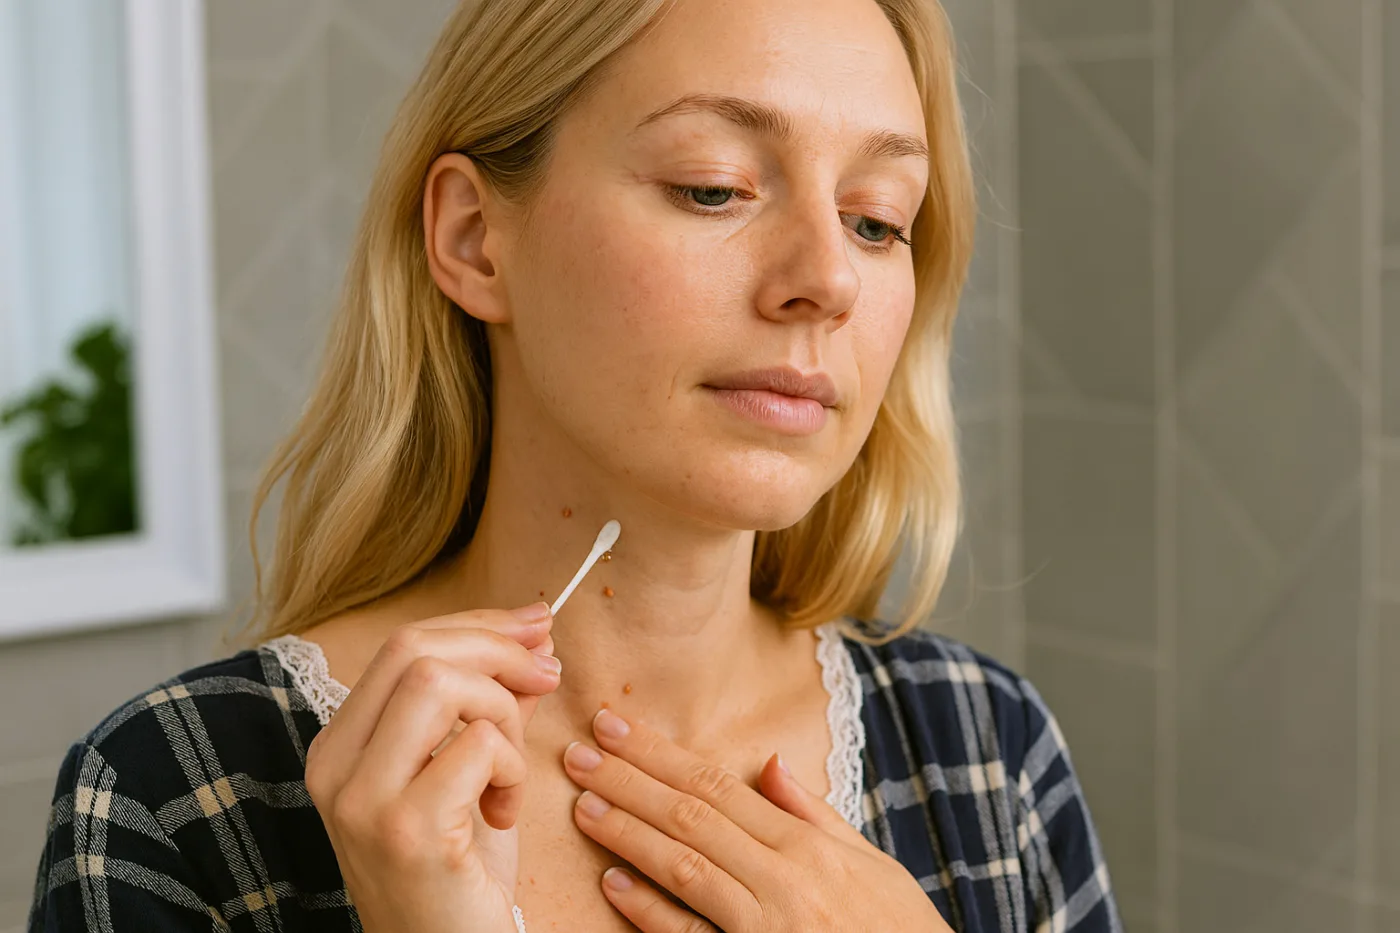
First, wash the affected area thoroughly with lukewarm water and soap. Then mix tea tree oil with vitamin E and apply the mixture directly to the growth using a cotton swab. Cover with a plaster and leave on for about 15 to 20 minutes. Then remove and rinse with water. Repeat the process every day - be patient, as it can take several days or even weeks for the skin growth to disappear. falls peacefully like a dry leaf in autumn.

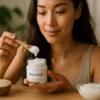
Skin acidosis No. 2: Apple Cider Vinegar – The Sour Path to Smooth Skin
Apple cider vinegar – that all-purpose natural cosmetics tool – isn’t just for shiny hair or a slim figure. Its acidic nature namely, it helps to gradually destroy the cells that make up the growth, and convinceto quit.
Ingridients:
- 1 teaspoon apple cider vinegar
- 2 tablespoons of water
- cotton pad and patch
Process:
Mix apple cider vinegar with water to prevent skin irritation. Dip a cotton ball in it and place it on the wart. Secure the ball with a bandage and leave it on for about 20 minutes. Then rinse with water and pat dry. Repeat the process twice a dayuntil the growth starts to dry, then – voilà! – falls off, usually within 3 to 4 weeks.
Vampire Method No. 3: Garlic – a smelly but effective wart fighter
Yes, garlic. It smells like Italy, but on the skin… a little less. Nevertheless, it is worth its weight in gold, as it contains allicin, a substance with exceptional anti-inflammatory and antibacterial effects. If you're willing to put up with a little olfactory suffering, you'll be rewarded with smooth skin.
Ingridients:
- 2 to 3 cloves of fresh garlic

Process:
Peel and crush the garlic into a paste. Apply it directly to the skin growth, cover with a bandage, and leave it on for about 30 minutes. Then rinse and repeat daily. Results usually take several weeks to see, but patience pays off. If the smell is too strong, you can use garlic oil, which is a bit kinder to the nostrils – but also less intense.
Important warning (seriously, no kidding):
These methods work only on smaller skin growths and only if it is really this type of formation. If you are not sure whether it is perhaps a wart, birthmark or something more serious, contact a dermatologistAlso, stop using home remedies immediately if irritation, pain, or unusual growth occurs.
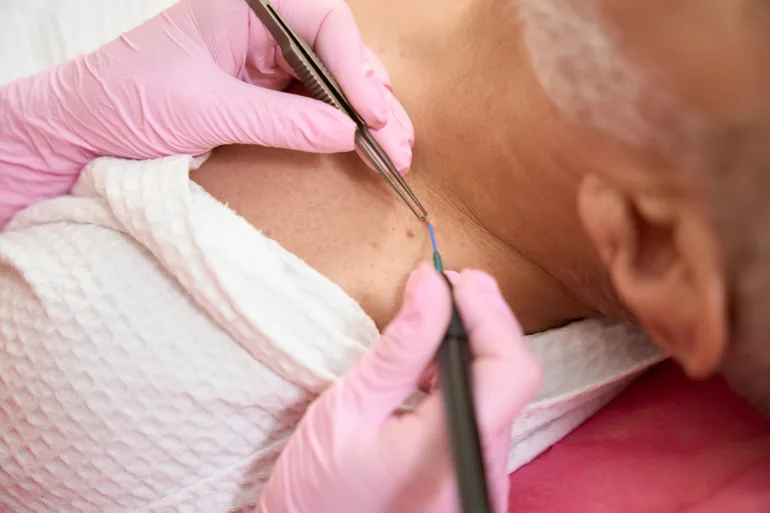
What if home remedies don't work? Medical options without embellishment
If nature fails or you simply want an express solution, you can opt for the following professional interventions:
-
- Cryotherapy (freezing) – with liquid nitrogen to a frozen farewell.
- Electrocoagulation (cauterization) – electric current, which precisely destroys the growth.
- Excision (cutting) – the doctor simply removes it with a sterile blade.
- Ligation (tying) – surgical thread prevents blood flow and growth goes out.
- Laser removal – high technology for those who love brilliant quick solution.
Don't do this at home (seriously!):
-
- Do not cut off the growths yourself! – No, not even with sterile scissors. You risk infection.
- Do not use wart removers. They are not made for skin growths.
- Forget about acids from the internet. Your skin deserves better treatment.
And finally – advice that always holds true:
If you have doubt, pain, bleeding or if the growths suddenly spring up like mushrooms after the rain, make an appointment with your doctor. It's better to have an unnecessary check-up than to have a problem discovered too late.